Five Of The Best Neighborhoods In Seattle

Seattle is one of the fastest-growing major cities in the united states which means many of the neighborhoods are growing and evolving. There’s a lot to consider when it comes to choosing the best community for you. Here are some of the best and most unique neighborhoods to consider when moving to Seattle or even if you’re just considering moving to a different neighborhood within the city: 

Beacon Hill

Beacon Hill is a neighborhood that has grown with the extension of the light rail, making it easy for local residents to move throughout the city. It has reliable transit and provides a walkable lifestyle for the residents. There’s a mix of single-family and multifamily homes giving plenty of options when it comes to the type of home you’re looking for. 

For leisure and entertainment, there are plenty of restaurants, bars, and coffee shops as well as Jefferson Park which is the 6th largest park in the city. Within the park is also the food forest which is a large urban garden that provides food to those who need it locally.  

Ravenna

Ravenna is a quaint single-family home enclave within the city of Seattle. It has easy access to the I-5 freeway and borders the University of Washington neighborhood giving it a college-town vibe. The city originally grew around the university to provide housing to those who work at and attended the university. Most of the homes in the neighborhood are charming Craftsman and Tudor homes.  

Throughout Ravenna, there are little pockets of commercial space with plenty of shops, restaurants, coffee shops, and bars. The neighborhood has good walkability with plenty of bike paths and bike lanes making it easy to access all the shops and restaurants without the need for a car. 

Columbia City

Columbia City is a walkable neighborhood with access to the light rail and other reliable transit. The neighborhood is more affordable than the neighborhoods on the north end of the city making it a desirable place to live. Genessee Park is a large green space for the local residents that provides plenty of walking paths and places to hang out with friends and family. As with most neighborhoods in Seattle, there are plenty of options when it comes to restaurants, coffee shops, and bars. There’s also a local farmer’s market every Wednesday afternoon for the local residents to enjoy. 

Ballard

Ballard is a coastal neighborhood with maritime and seafaring history. There’s a National Nordic Museum that highlights this history. The main attraction for locals is the Golden Gardens park with beaches and wetlands for locals to walk around and gather with friends and family. There’s also the Ballard Locks which has parks where residents can hang out and watch the boats navigate the channel. 

The neighborhood is full of boutique shops and restaurants, especially on Ballard Ave which is a great place to walk around and experience what Ballard has to offer. On Sundays, there is also a farmer’s market. For those who like beer, Ballard has a wide variety of famous and award-winning microbreweries. 

Georgetown

Georgetown is the oldest neighborhood in Seattle. You can see it in the architecture and the design throughout the area. While there have been some new and modern development, it still has an old-town feel to it. There are plenty of art and murals throughout the community and old-school record shops. There’s even a major vintage arts and crafts mall for those who are shopping for antiques. 

The neighborhood is still zoned for light industrial so there is some manufacturing throughout the community and it is even where the local design center is. There’s plenty of art, charm, and character throughout the community along with the local restaurants, coffee shops, and microbreweries. It is truly a unique community for those who want to live in and experience a different part of town.

Decorating Tips For Tenants

Even if you’re renting a home for just a year, decorating the rental in order to make it feel like home is an important step. This sets the tone for how you intend to take care of that property while injecting your own personality and tastes into it. Just because you don’t own the property, doesn’t mean you can’t spend some time and effort making it feel like your own. Here are some tips for decorating your rental home:

Communicate with your landlord

While it isn’t likely that all of your requests will get approved by your landlord especially the more expensive it gets, it is still worth the effort to see if your request is something your landlord is willing to do. This could be as simple as getting a new and more energy-efficient refrigerator or just painting the walls. There’s a good chance some of these issues are long overdue and the landlord was intending on doing them in the near future anyway. 

Use command strips

When it comes to hanging pictures and objects on the wall, you may not want to drill any holes in the wall and create damage to the walls if you intend on only living there for a year or two. Your lease also may not allow for any holes to be drilled in the wall. Command strips are an effective way to hang pictures and paintings on the wall and when you move out, you can simply just peel them away without leaving any kind of damage to the wall. 

Use removable flooring and wallpaper

If you don’t want to paint the walls and just want a quick fix, one option is to use wall decals that can be easily removed when moving out. They can also be changed regularly if you want to alter the look throughout your time in the unit. If you have an old linoleum floor that is unpleasant to look at, you can also use decals or peel and stick vinyl panels for the floors to make them more appealing and match your own style. 

Replace handles

One issue that plagues rental units is door handles, hinges, cabinet handles, and other fixtures can be either very basic or old and outdated. One simple and inexpensive fix is to just replace these with better-looking options that match your home decor. This is also very easy to do on your own and won’t’ require hiring anyone to do it for you. 

Use area rugs

If the carpet is old and outdated, the best way to cover them up is to use large area rugs to cover as much as the floor as possible. This will also help maintain the carpet under the rug and the look can be easily altered by a new rug if you decide to change it up. Even if you go the area rug route, be sure to do an annual deep cleaning of both the rug and the carpet to maintain a clean look.

DIY: How To Replace A Light Switch

When renting a home, a tenant is generally at the will of the landlord when it comes to customization. Because of this, many features of the home can be outdated, worn, or just visually unappealing. You can ask your landlord to make upgrades, but there are no guarantees it will be done.

One simple upgrade that can get done on your own is to replace light switches. This is an easy and inexpensive way to give your home a more modern and custom feel. Before replacing the light switch and plate, notify your landlord to inform what you intend to replace. Here’s how to replace a light switch: 

Step 1: Pick a light switch

There are a number of colors, styles, functions, and technologies to choose from. Make sure the switch and switch plate are going to match the color scheme/paint in your home. You can also decide to install a smart switch that will sync up to the rest of your smart home features. 

Step 2: Turn power off

Now that you selected your light switch, turn off the power to the switch you intend to replace from the breaker board. 

Step 3: Remove the switch plate

Use a screwdriver to remove the place. Once the switch plate is removed, use a voltage tester to make sure there is no electricity running through the wires.

Step 4: Remove switch

With a screwdriver, remove the screws which will release the switch from the electrical box. The wires will still be attached to the switch. Pull the switch out in order to remove the wires. 

Step 5: Detach wires

Mark the wires with tape so you know where to connect them to the new switch. Remove the wires from the switch. Some may require you to loosen the connection with a screwdriver. Another option is to change each wire one by one if you don’t have any tape to mark each wire. 

Step 6: Attach wires

Attach the wires to the corresponding terminals on the new switch. Connect the ground wire to the green ground wire terminal on the switch. 

Step 7: Secure switch

Push the switch back into the electrical box. Use the screws and screwdriver to secure the switch to the box. Screw them in tight enough to secure the switch to the box, but not so tight that you crack the electrical box. 

Step 8: Secure the switch plate

Use the screwdriver and secure the switch plate with the screws. You’ll want to secure it tight enough that it doesn’t move, but not so tight it cracks the plate, or risks any cracks if it is bumped. Once the switch plate is secured, turn the electricity back on through the breaker box and let there be light.

8 Simple Tips For Renters

As a renter, a lot of your time is spent navigating and communicating with property managers and landlords. Landlords and property managers can be busy working with other clients or even their own personal careers. Since renting means certain tasks can’t be done on your own time and require the action of others, it is best to be prepared and efficient when it comes to making sure your needs are met as a renter. Here are some tips on how to do that: 

1: Show up prepared

Showing up with all the necessary paperwork a landlord or property manager will need can give you a competitive edge. This can be especially important in a tight housing market with a limited number of available rental units. Make sure you show up with references from former or current landlords, employers, and colleagues. You should also bring an up-to-date credit report. This can both expedite the process and help you get the unit over other potential candidates. 

2: Read the lease

Make sure you’re clear on all the fine points on the lease. There can be rules about guests, pets, and other basic points that might impact your decision to rent the unit. There also could be language in the lease about renting out a spare room on Airbnb. Make sure the rules on the lease are in line with how you plan to use the rental unit. If you have any questions, seek clarity with the property manager. 

3: Get everything in writing

Try to communicate with your landlord through official written channels at all times. If they have a website where issues can be submitted, always go through the website and follow up with an email. Make sure all communications through email are documented and saved to protect yourself down the line if any issues should arise. 

4: Protect your privacy

Even though you don’t own the property, you’re still entitled to your peaceful and private use of the property. If the landlord or property manager is constantly hanging around the unit, let them know it makes you feel uncomfortable. Also, allow them access to your unit without proper warning. Draw lines to protect your privacy and if they cross those lines, be firm and clear. 

5: Ask for repairs

Don’t be shy about asking for repairs. Landlords and property managers aren’t doing you any favors. It is their job to make sure you have a functional home. Unless you are responsible for something breaking, it is their job to handle the repairs. Give them a reasonable amount of time to make the repairs but don’t be hesitant to follow up with an email if you haven’t heard any updates in a day or two. Miscommunications and forgetfulness happen and sometimes and if a repair isn’t getting completed in a timely fashion, it doesn’t mean they are being negligent. A gentle reminder is sometimes all that is needed. 

6: Get renter’s insurance

Renter’s insurance is affordable and can protect you in multiple ways. It will protect you if your private property is stolen from your rental unit. It can also protect you if a guest was injured in your rental. It can also protect you from damages caused by others as well as damages from natural disasters. 

7: Protect your security deposit 

Do a thorough walkthrough before moving into the rental unit. Make sure you understand the laws and the language in the lease in regards to the security deposit. When you move out, be sure to ask for an itemized receipt for all the funds used from the security deposit. 

8: Secure your home

Make sure all the necessary and legally required safety measures have been taken in your unit. You’ll want to check that all exterior doors have property deadbolts and locks. Check the windows to make sure they lock properly. Inspect all the smoke detectors to see they function correctly and have batteries inside. 

How To Inspect A Rental Unit

Moving can be a stressful process. The time spent searching online, driving to showings, meeting with property managers and landlords, and considering moving costs can be taxing. This can make the rental inspection at the end of the process seem excessive and like a step that can be skimmed over. While it can possibly create more headaches, this step isn’t one just landlords take to protect themselves, it is also a step that can protect tenants. 

This is an important step that can make sure everything is functioning properly before moving in. It can also protect your security deposit as well as keep you from being held liable for any damages that you aren’t responsible for. Here is how to conduct a rental inspection: 
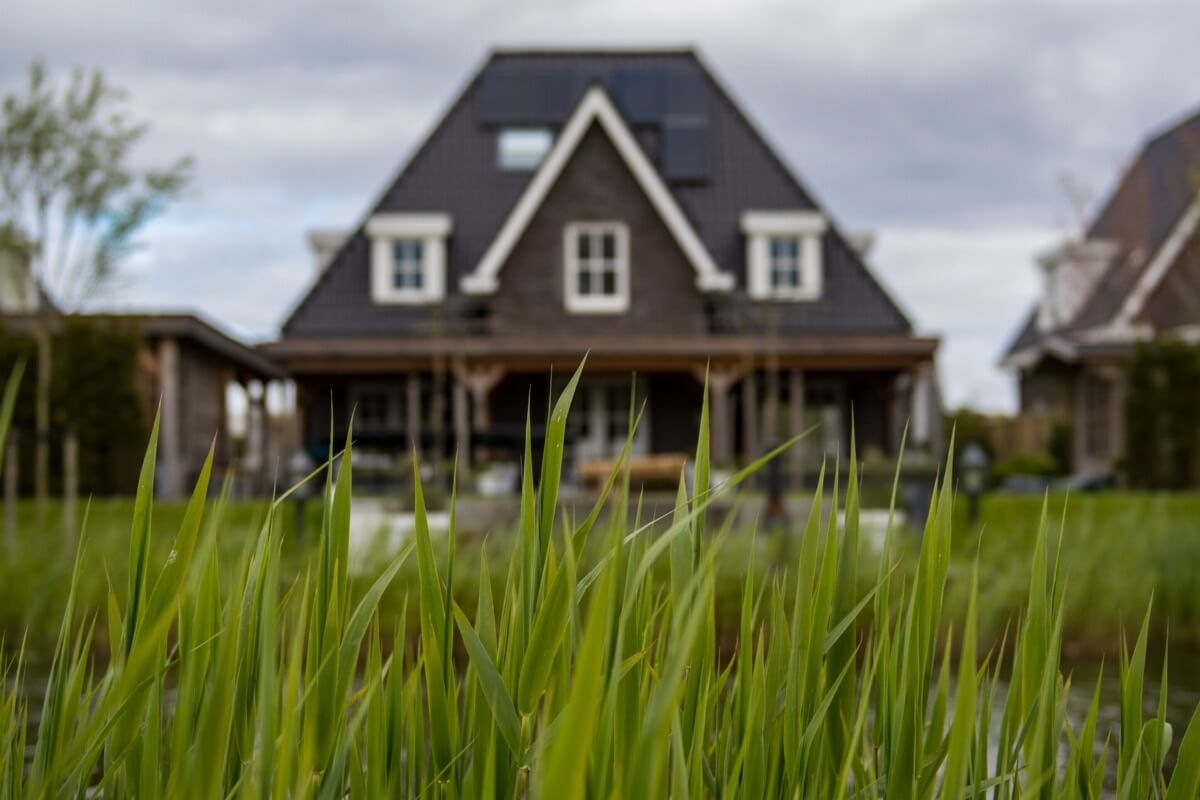
The exterior

The exterior is a part of the inspection that can easily be overlooked. Most of the focus can be spent on the interior since that is where tenants will spend most of their time. Since you’re paying for the entire property, you’ll want to inspect the exterior as well. 

Inpsect all the exterior doors. You’ll want to make sure they are sealed properly. Check to see if you can see any light coming through the edges of the door. You can also feel to see if there is any draft coming from the doors when they are shut. If the doors aren’t properly sealed, this can lead to high heating and cooling costs. 

Checking the windows is equally important. You’ll obviously want to look for any damaged windows. Are they broken or do they have any cracks? You’ll also want to make sure they open and close properly. You can gently push on the windows to make sure they are installed and secured properly. Inspect the screens as well to make sure they fit properly and aren’t damaged with any large holes that would render them useless. 

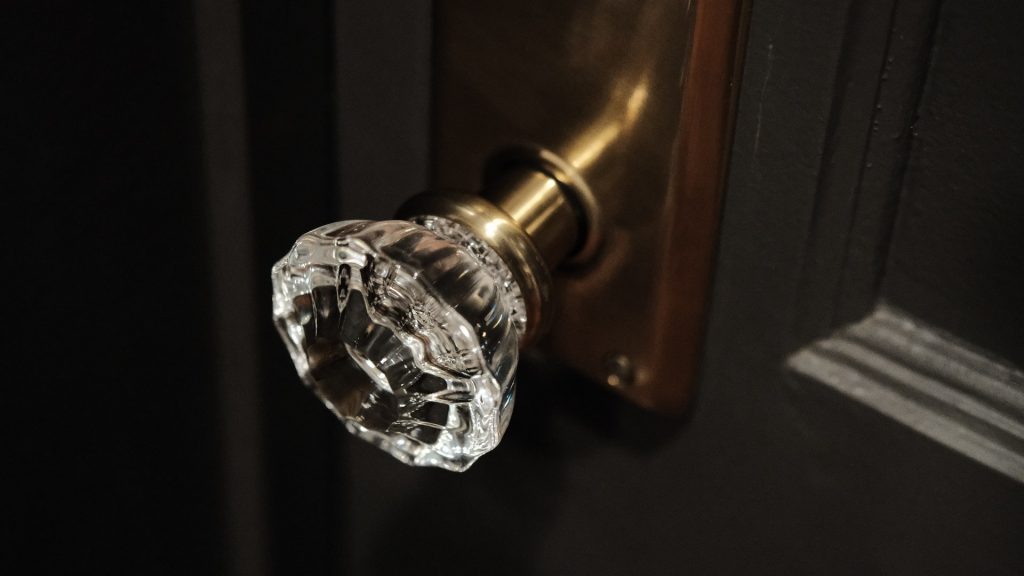
Check all the locks on the doors and windows as well. You’ll want to make sure they work properly and are easy to use. If the locks are old and rusted making them difficult to lock and unlock, they need to be replaced or fixed. You’ll also want to decide if the quality of the locks are sufficient. 

All other exterior

Don’t overlook porches, balconies, or exterior staircases, and the rest of the exterior structures. Make sure there aren’t any cracks or loose boards. Make sure all the gates can be secured properly.  Make sure any railings are properly secured and don’t wobble. If you live in a region with extreme weather, you’ll also want to consider any branches which might pose a threat during a storm. 

Heating and cooling

Check to see what kind of cooling and heating units there are in the rental unit. Is it central? Are they window/wall units? Is the heater gas or electric? This will impact the costs of heating and cooling. You’ll also want to check to see if they work properly. Take some time to turn the heating and cooling on to see how well it works. Look to see if there is any rust or debris around the vents which will give an indication of how well the system has been maintained. If there is a lot of debris, you can request the landlord inspect the system. 
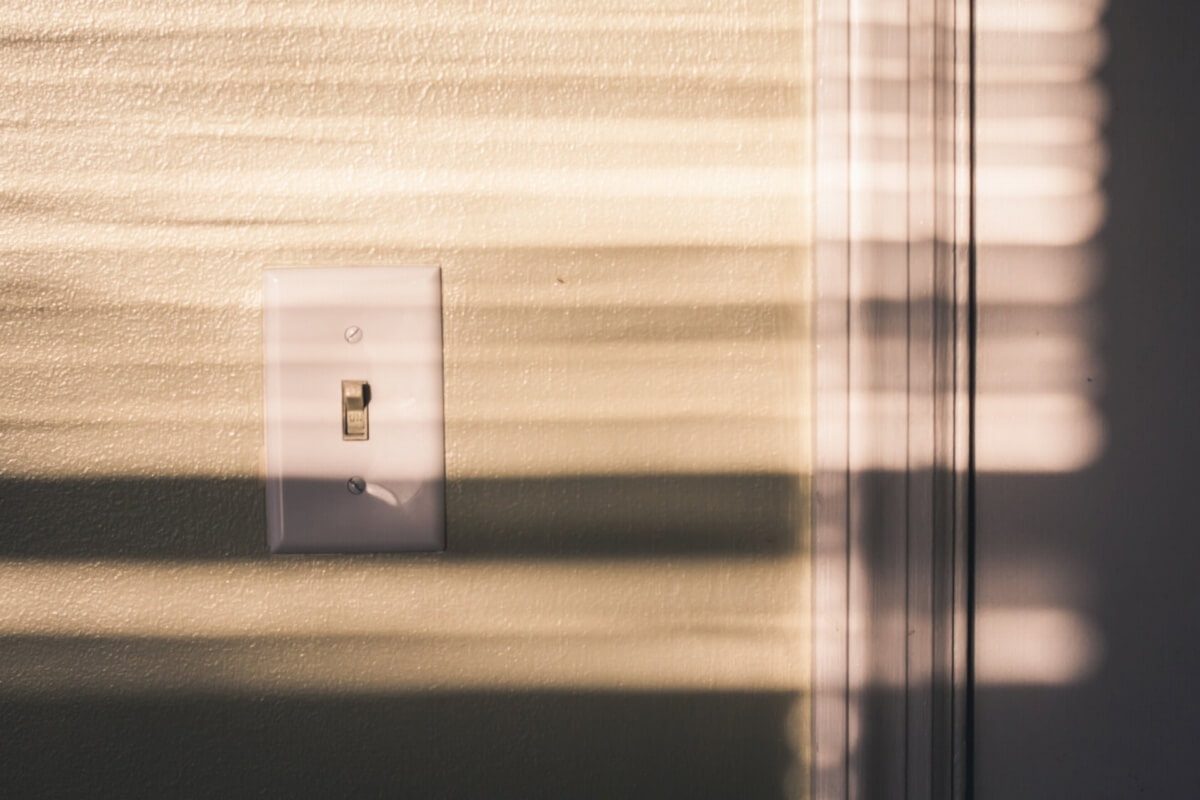
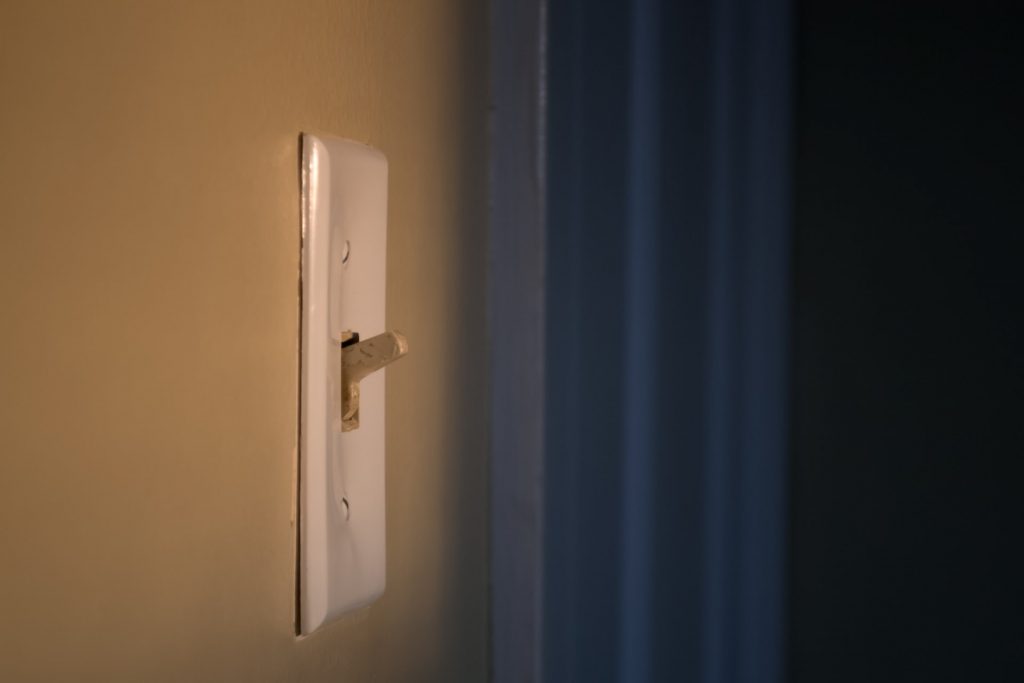
Lights and outlets

Inspect all the lights to make sure they turn on. You’ll also want to inspect all the outlets to make sure they work and aren’t loose. Bring your cell phone charger and use that to inspect each outlet to make sure they all work. If any lights flicker, this could indicate an electrical problem. 

Interior walls and ceilings 

Look around to see if you can spot any cracks, chips, or scratches on the walls and the ceilings. If it looks like the paint isn’t fresh, you can ask the property manager to paint the interior or at least go over the spots where the paint is cracked or chipped. 

Also, check for any mold or water damage. In order to spot any water damage, look for any bubbling of the paint or wallpaper. If you’re in a region with high humidity, mold can be high risk. Consider how well ventilated the home is and look for any potential mold build-up. If you spot any, notify the landlord and request it be removed. 

Smoke and carbon monoxide detectors

Detectors are required by law, so you’ll want to make sure they are installed in the proper locations. You’ll also want to check to see they are working properly and all have batteries inside. There should be one in every room of the house. 

If there are any gas-powered heaters or stoves, a carbon monoxide detector will be required as well. Double-check with the landlord to make sure one has been installed 
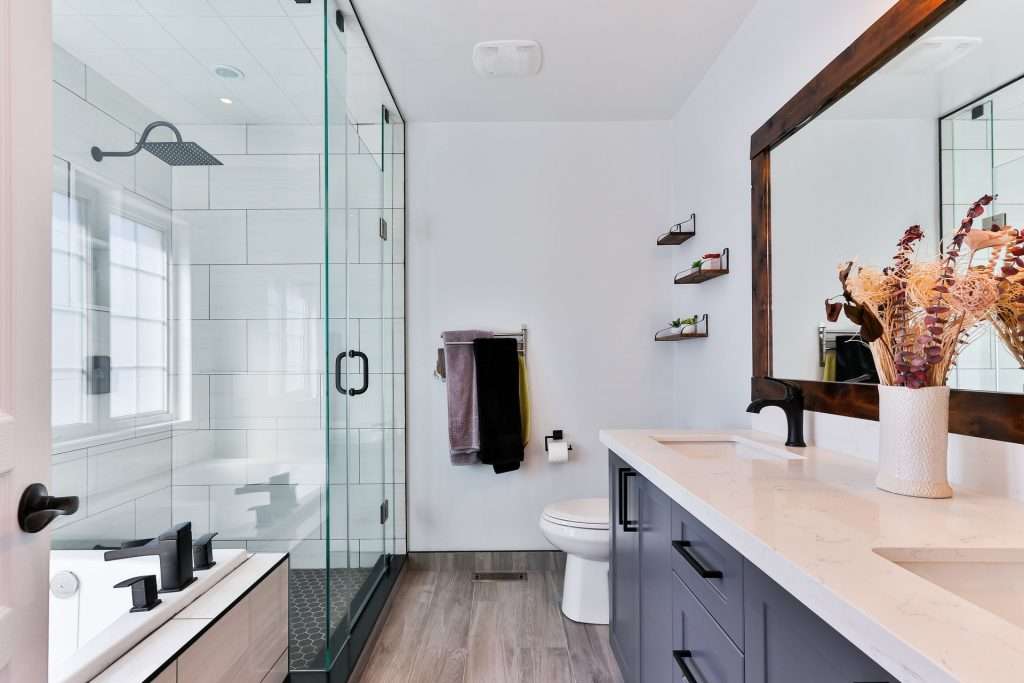
Bathroom

While in the bathrooms, smell for any musty, mildewy, or strange odors. This can be an indicator of mold that might be building up out of sight. If you smell anything strange, you can ask the landlord to inspect to see if there is any water damage in the bathroom. 

Check all the components of the bathroom. Inspect the toilet seat to make sure it is secured properly. Make sure the flushing mechanisms work. Look to see if there is any mold, rust, or cracks around the toilet. 

Shower and sink

Check the shower to make sure all the water comes out properly. See that the water pressure is sufficient and the hot and cold settings work. Make sure the drain is draining water fast enough so there is no puddle around the drain. Make sure the showerhead and faucet don’t drip long after the water is turned off. 

Inspect the sink in a similar way to the shower. Make sure the faucet doesn’t leak and all the hot and cold settings work. Look under the sink to make sure there is no water damage or any indications of a leak. Use this time to make sure the cabinets in the bathroom open and close properly, as well. 
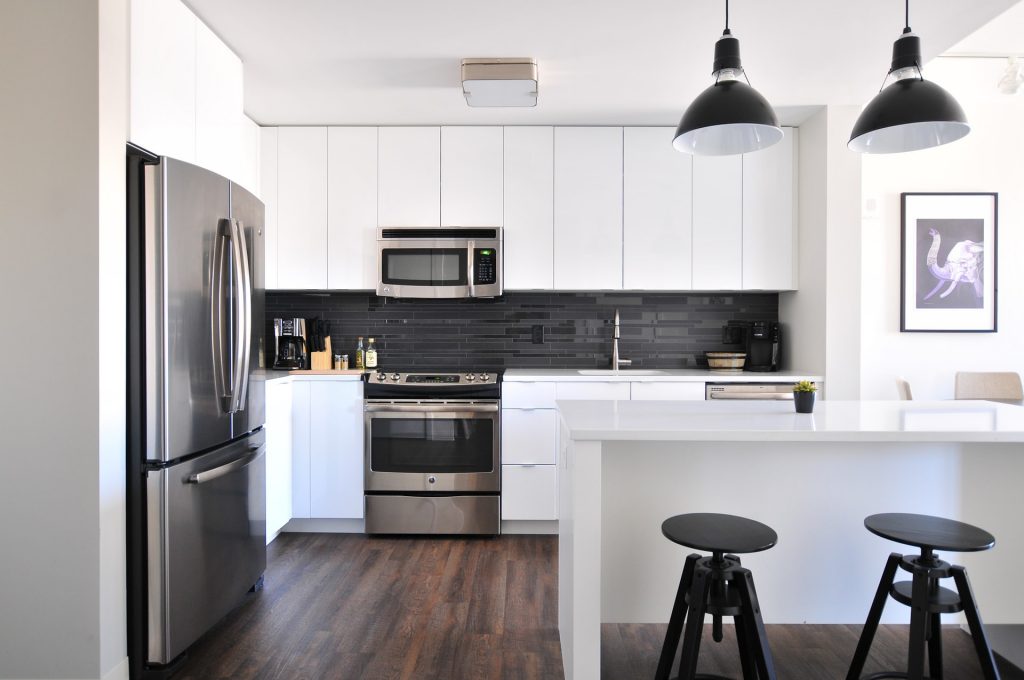
Kitchen

Inspect all the appliances in the kitchen. Make sure the refrigerator seals properly and there are temperature differences in the different compartments. Look at the shelves to see if they are firmly in place. Check to see if there are any cracks if the shelves are plastic. If there’s an ice cube maker, check to see that it is working. 

If there’s a dishwasher, take a look inside to see if it is well maintained. Turn it on to make sure it is working as well. 

If there’s a gas stove, check to make sure all the burners are working. Also, check for any excessive gas smells around the oven and stove. If it is electric, check to make sure each burner works as well as how long it takes to heat up. 

Cabinets

Check all the cabinets and drawers. Look for any signs of vermin infestations like dead bugs or animal droppings. Make sure all the doors and drawers open and close with ease. If there are any issues with the paint or finish, you can ask the landlord to refinish the cabinets before moving in. 

DIY For Renters: Staggering Picture Frames

When renting a home, a tenant is limited in the options when it comes to customizing the property. Without the ability to invest in any renovations or long-term projects, it comes down to mostly decor. This is really the only option when it comes to making a rental unit feel like you’re own home. If you’re planning on staying in a rental unit long-term, it’s a good idea to make it feel like a home instead of just a temporary rental unit. One way to do this is to stagger picture frames on a wall. Here’s how to do it:

Step 1: Select a wall

You’ll want to choose a wall that you want to make the centerpiece of your home. This will preferably be in the living room area where most of your guests would gather. This will be like a blank slate so pick one of the larger walls you want to cover, This will help the room feel less empty. One option if to use the wall the TV has been mounted on and stagger the framed pictures around the mounted TV, This will help the TV blend in as part of the centerpiece. 

Step 2: Select your frames

Not all the frames need to be the same size or color. You can select a wide variety of picture frames. This will help the wall be more visually appealing. It will also help to draw attention towards the wall instead of just blending into the rest of the home. 

Step 3: Select a theme

After you have your frames, make sure you select a theme for the pictures that will go in them. It can be very broad. You can choose to have it reflect the neighborhood, city, or region you live in. You can have it reflect some of your specific interests. It would just be photos of family and friends. Any theme will work so long as there is some cohesiveness. 

Step 4: Decide where to place them

Since it is difficult to know how the placements will look before actually putting them up, you can use painter’s tape to outline where they would go. Select each frame and place them on the wall outlining them on at least two sides at a 90-degree angle. Once you have outlined the frames, take a step back to see how it looks from the other end of the room. Adjust accordingly to your own taste. 

Step 5: Hang the frames

The only thing left to do at this point is to hang the pictures in the designated spots on the wall. Use a leveling tool or app on your phone in order to make sure all the frames are even. Now you’re all set and the centerpiece of your home is ready. 

How To Add Your Bank Account To Pay Rent

Long passed are the days of mailing or dropping off your rent payments every single month. While some property management companies and landlords choose to continue doing things the old-fashioned way, Ziprent allows for their tenants to pay rent online from the comfort of their own homes. This saves both time and effort. To make it even easier on the tenants, Ziprent also allows tenants to add their bank accounts to their accounts to make paying rent even easier. Here is how to add your bank account to your Ziprent account:

Step 1:

Login to your Ziprent account by clicking the login button in the top right corner of the home page.

Step 2: 

Enter in your email address associated with your account as well as your Ziprent password.

Step 3:

Once you have logged into your account, look at the bottom left corner. Click where it says “Rents” and this will take you to where you can pay rent.

Step 4:

On the right side of the screen, you’ll say a “Pay” button. Click on that button which will lead you do another screen.

Step 5: 

This screen will give you two options for paying rent. You can pay it one time, without adding your bank account, or you can choose to add your bank account in order to make future payments quicker and easier. Click on the orange button that says “Add Bank Account.”

Step 6: 

The next screen will give you only one option. Click the “Continue” button to move to the next screen.

Step 7:

The next screen will show a list of banks. If your bank doesn’t show up on the first screen, you can search to see if your bank is on the list. If you bank is on the list, click on your bank and move to the next page which will sink your account up with Ziprent.


Step 8:

If for some reason the automated process of syncing your bank with your Ziprent account doesn’t work, you will be given a manual option. Just click on the manual option to input your bank information manually.

Step 9:

You’ll need your account number, routing number, bank name, account type, and billing address in order to connect your bank account to Ziprent. You can find your account number and routing number at the bottom of a check.

Quick Reminder: Whether you’re moving in or moving out, check with your landlord about pro rated rent for the first or last month of your tenancy. 

DIY For Tenants: How To Change Light Fixture

When renting a home, there are limited options to customize the home just the way you want it. Unlike owning the property, a tenant can’t make any major renovations. There is also no reason to spend money improving a property when the improvements would only benefit the property owner in the long term. There are small things that can be done, with the approval from a landlord, that is inexpensive and can make your rental unit feel like a home. If your intention is to live in the property for a few years, consider making minor changes like replacing light fixtures to update the look. Here’s how to replace a light fixture: 

Step 1: Turn off the power

You don’t want to accidentally electrocute yourself so go to your breaker board and flip the breakers off. If you turn off just the light switch, there is still a possibility you can be electrocuted. You can also get a non-contact voltage tester pen to test the wires before starting just to be sure you turned off the correct breakers. 

Step 2: Remove the light bulbs

This will allow you to unscrew the light fixture easier and ensure you don’t accidentally break any light bulbs in the process of removing the fixture. 

Step 3: Unscrew nuts and screws

Unscrew any nut or screw that is holding the fixture base to the ceiling box. Make sure to keep the screws somewhere where you won’t lose them, just in case you need them for attaching your new fixture. 

Step 4: Detach fixture

Once you have removed all the screws and nuts, let the fixture drop exposing the connecting wires. Remove all of the electrical tape or wire nuts from the black(hot) wire, the white (neutral) wire, and if present, the green(ground) wire. 

Step 5: Attach new fixture

Use wire nuts to connect the wires from the fixture to the corresponding wires from the ceiling. Connect the black (hot) wire to the black wire, the white (neutral) wire to the white, and secure them with the wire nuts. Attach the ground wire to the ground screw which comes with the new fixture.

Step 6: Connect fixture base to the ceiling box

Gather the screws and nuts that came with the new light fixture. Raise the new fixture and align it with the proper holes and tighten the screws and the nuts securing the new light fixture to the ceiling box. 

Step 7: Attach remaining parts

Once you’ve secured the fixture properly, put in the new light bulbs. Make sure you’re using the correct bulbs recommended for the specific light fixture. After screwing in the bulbs, attach the light cover. The last thing to do is turn the breakers back on and test the light fixture to make sure everything works properly. 

Getting help

This project can be easier if you have someone to help you with the installation. Especially if that person has experience with changing light fixtures. If you are renting an older home or apartment, there is a possibility the wiring attached to the ceiling box may need to be changed in order to prevent overheating and possible electrical fires. If you’re unsure if your home falls into this category, or aren’t comfortable replacing the fixture yourself, you can hire an electrician or contact your landlord and ask for help.

How To Find A Good Value Home Rental

When it comes to finding great value in a rental unit, first, you have to determine what it is you are looking for in a home. How many rooms do you need? How much square footage are you looking for? What part of town do you want to live in? How far is the commute to work? Is there easy access to public transit? What amenities are you looking for? And most importantly, what is your budget?

The general rule of thumb when it comes to how much rent you should pay is to not exceed more than 30 percent of your income. If rent is 1,500 dollars a month, you should earn at least 5,000 dollars a month. Ideally, you would want to find a rental unit at 20 percent of your income or slightly below in order to help save money. 

Location location location

One way to save money on rent would be to live farther away from the urban center. This all depends on how far you are willing to commute for work and how important living near all the entertainment and amenities of the urban center is to you. One way this can be possible and made easier is if the area away from the urban center has easy access to a train or light rail system which can make travel to the area easy. 

While living far away from a downtown area can give your the most value for rent, there are ways to find a good deal closer to the urban center. One thing to look for is a rental unit near public transit that doesn’t have a reserved parking spot. Because most people own a car, the demand for a unit without parking can be lower which means the rent should be cheaper than units with reserved parking. 

Start searching early

Start searching at least three months before you intend on moving. You don’t want to be put in a predicament where you have given your landlord a 30-day notice and you’re unable to find a place with good value, or even worse, unable to find a place at all. With a constrained housing supply, it is important to exercise even more caution when deciding to move and looking for a new place. This also hinders your ability to negotiate a lower rent. If you do live in a region with a sufficient supply of housing, negotiating a lower rent does become an option. 

Talk to current tenants

If you are looking at a unit in a complex, talk to some of the current residents to get a feel for what you should expect from living there. Find out how much others are paying in rent to see if you would be getting a good deal or if you’re dealing with price gouging. 

Landlords and property managers do everything they can to vet their tenants and there is no reason why tenants shouldn’t be able to do the same for landlords and property managers. You should find out how responsive they are to repairs, how respectful they are of the privacy of their tenants, and if they are reasonable about rent increases when leases are renewed.

If you do find a reputable property management company, you can always search their site, like Ziprent, to see the available units they manage. 

Do a walkthrough

Before you sign any lease, make sure you do a thorough walkthrough. You’ll want to make sure everything is working properly and you won’t get stuck with nonfunctional aspects you may then be held responsible for. Here’s what to inspect: 

  • Check all the lights, faucets, and toilets throughout the unit to make sure they are working properly
  • Check for any kind of infestation in the unit. Look in storage spaces and in cabinets for any sort of droppings, dead bugs, or chew marks. 
  • Check all the outlets to make sure they work. One way to do this is with a cell phone charger. 
  • Check all the safety equipment like smoke detectors and fire extinguishers 
  • Check all the doors and windows to make sure they open, close, and lock. 
  • Check all the appliances to make sure they’re working
  • Examine the floors and walls for any damage. This will help ensure you don’t get charged for any damages.
  • Take pictures of any potential issues with your phone to document them with your landlord/property manager before signing the lease.

DIY For Tenants: How To Install TV Wall Mount

Everyone wants to make their home feel like a home. Unfortunately, as a tenant, you are limited in your ability to make your home just the way you like it. Since you don’t own the property, there is no reason to spend money on big upgrades since you may not be there for long.

There are minor changes that can be made to make your home feel like your home. One quick and inexpensive option is to mount your TV on your wall. This is a simple task that can be done on your own but is beneficial to have a second person to assist you. 

What you will need

  • Stud finder
  • Level
  • Paper template (optional)
  • Pencil or masking tape
  • Tape measure 
  • Power drill
  •  drill bit
  • Philips head or flathead screwdriver
  • TV mount
  • Included mounting hardware

Selecting the right position

Ideally, you’ll want to select a wall where the TV can be centered in front of the seating area. You’ll also want to select a wall with an outlet and access to the cable or satellite. With smart TVs and the option to cut the cord and just use streaming services, it can allow for more options of which wall to choose.

You’ll also want to make sure you’re positioning the TV at the proper height and distance from the seating area. This will depend on both your TV size and the height of your couches and chairs. You’ll want to position the TV at around eye level. Some TVs attach to the wall mount at the bottom of the TV, and others at the center. You’ll want to figure out which one your TV is before deciding where to install the wall mount. 

Find the studs

The drywall won’t be strong enough to hold the weight of the mounted TV. You’ll need to find the studs in order to mount the TV. You can use the knocking method if you don’t have a stud-finder, but a stud-finder is the best option and they are inexpensive. Once you find the studs, mark the location with a pencil so it can be erased later. 

Mark drill location

Once you have found the studs, you’ll need to mark the location where you need to drill the holes. You can use a level to make sure the holes are all aligned or you can trace the bracket on a piece of paper and use that as a guide for where to mark the holes. If you use the paper, be sure to double-check with the level to make sure it isn’t slanted before marking the wall. 

Double-check with bracket

Before you drill the pilot holes, you’ll want to make sure they are properly aligned with the bracket. Place the bracket flat against the wall to see if the pencil marks are in the correct position. Use the level to make sure there is no slant as well. 

Drill the holes

You’ll want to check with the instructions on the wall mount to make sure you’re using the correct drill bit. Once you have the correct drill bit, drill the pilot holes. 

Attach the mounting plate

Your TV will have designated holes in the back where a mounting plate can be screwed on. Some TVs have them towards the bottom, and others in the middle. You’ll want to lay down a clean towel on the ground and lay the screen side down flat. Get the property screwdriver and use it to connect the mounting place to the TV.

Make sure you don’t tighten the screws too much as this can ruin the TV. Tighten them just enough so they are secure, but not as right as you possibly can. 

Install the wall mount

Now that you have the pilot holes ready, place the mount over the holes and use a screwdriver, power drill, or ratchet to secure the mount against the wall. You’ll want to make sure the mount isn’t loose or wiggling in any way, but you’ll also want to make sure you haven’t tightened it too much. If the mount is warped or bent, that means it is too tight and you’ll need to loosen it up a bit. 

Attach the TV to the mounted bracket

Now that the mounting plate has been secured to the TV, you’ll need to attach the mounting plate to the wall mount. This is where having an extra set of hands can be extremely helpful to make sure you don’t damage your TV. Be sure to live the TV by the bottoms and the sides, and don’t put any pressure on the screen. 

Be sure to follow the specific instructions based on the wall mount you bought. You will need to elevate the TV to the level of the mount or slightly over so it can be dropped in. Once you have done that, there will be some level to secure the mounting plate to the mount. That will involve either a clip or a screw of some sort. 

Connect the TV

The only thing left to do is to connect the TV to the power source and any cable box or video game system which needs connecting and you’re done.